
环境准备
| 服务器简称 | ip | 系统 | 软件 |
|---|---|---|---|
| node1 | 192.168.31.200 | centos7.9 | nginx |
| node2 | 192.168.31.201 | centos7.9 | nginx |
nginx安装参考 nginx安装
安装 keepalived
在 node1 和 node2 都安装 keepalived
[root@localhost ~]# yum install keepalived -y
配置 keepalived
修改服务器的 /etc/keepalived/keepalived.conf 配置文件
node1(主)
global_defs {
  # root 用户执行脚本
  script_user root
}

# 定义检测 nginx 是否正常运行的脚本
vrrp_script check_nginx {
  # 检测脚本
  script "/bin/systemctl status nginx.service"
  # interval: 定时心跳间隔(秒)
  interval 2
  # fall: 失败重试次数
  fall 2
  # rise: 服务关闭后需要连续几次响应才认为服务重新启动的次数
  rise 2
}

# virtual_router_id: vrrp_instance的唯一ID
vrrp_instance VI_01 {
  # * MASTER(主)/BACKUP(备) *
  state MASTER
  # interface: 网卡,ip add 命令查看
  interface enp0s3
  # vrrp_instance的唯一ID
  virtual_router_id 151
  # * 权重,主节点要高于从节点 *
  priority 110

  # 虚拟ip
  virtual_ipaddress {
    192.168.31.50/24
  }
  # 调用的脚本
  track_script {
    check_nginx
  }
  authentication {
    auth_type PASS
    auth_pass 123456
  }
}
node2(从)
global_defs {
  # root 用户执行脚本
  script_user root
}

# 定义检测 nginx 是否正常运行的脚本
vrrp_script check_nginx {
  # 检测脚本
  script "/bin/systemctl status nginx.service"
  # interval: 定时心跳间隔(秒)
  interval 2
  # fall: 失败重试次数
  fall 2
  # rise: 服务关闭后需要连续几次响应才认为服务重新启动的次数
  rise 2
}

# virtual_router_id: vrrp_instance的唯一ID
vrrp_instance VI_01 {
  # * MASTER(主)/BACKUP(备) *
  state BACKUP
  # interface: 网卡,可以通过 'ip add' 命令查看
  interface enp0s3
  # vrrp_instance的唯一ID
  virtual_router_id 151
  # * 权重,主节点要高于从节点 *
  priority 100

  # 虚拟ip
  virtual_ipaddress {
    192.168.31.50/24
  }
  # 调用的脚本
  track_script {
    check_nginx
  }
  authentication {
    auth_type PASS
    auth_pass 123456
  }
}
注释前后带 * 号包围的表示主从配置不一致
开启防火墙
关闭 selinux
如果开启了 selinux,需要关闭
临时关闭
[root@localhost ~]# setenforce 0
永久关闭
修改 /etc/selinux/config ,将 SELINUX 设置为 disabled
防火墙开放 VRRP
如果开启了 firewall ,需要开放 VRRP,运行以下命令开启
[root@localhost ~]# firewall-cmd --add-rich-rule='rule protocol value="vrrp" accept' --permanent
[root@localhost ~]# firewall-cmd --reload
服务管理
启动
[root@localhost ~]# service keepalived start
关闭
[root@localhost ~]# service keepalived stop
重启
[root@localhost ~]# service keepalived restart
验证
验证 keepalived
运行
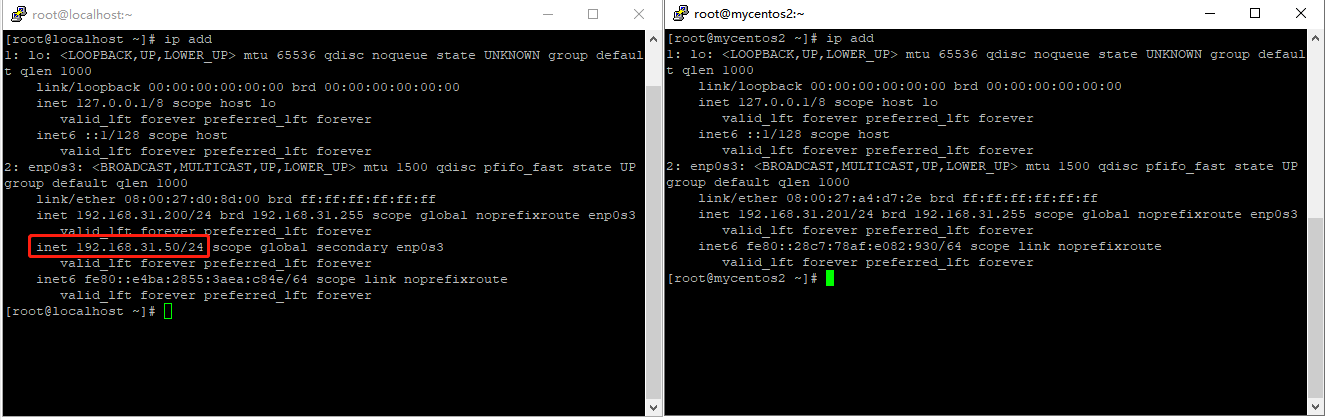
ip add查看是否生成 vip,可以看到 vip 指向了node1服务器[root@localhost ~]# ip add
关闭 node1 上的 nginx 后再次查看,可以看到 vip 指向了
node2服务器[root@localhost ~]# service nginx stop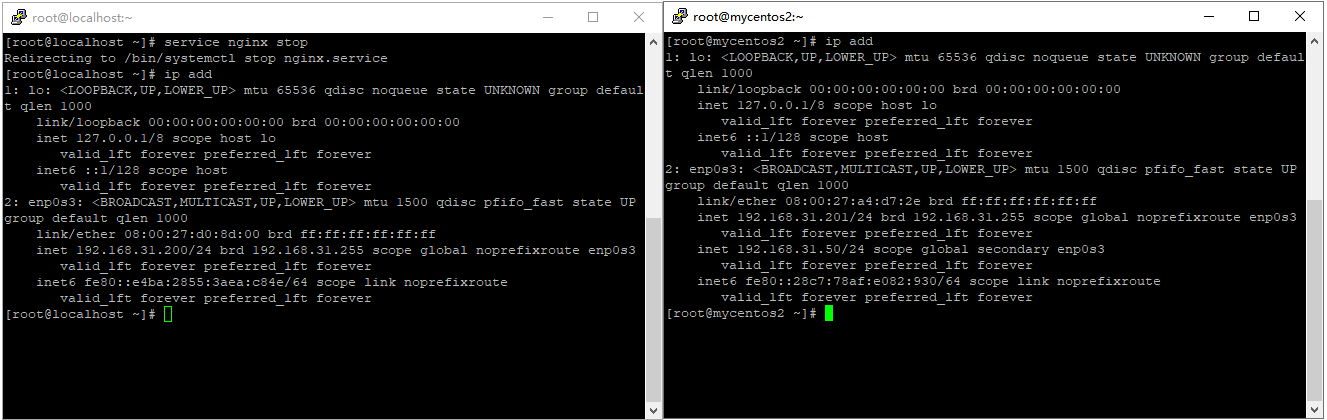
node1 重新启动 nginx 后再次查看,可以看到 vip 重新指向了
node1服务器[root@localhost ~]# service nginx start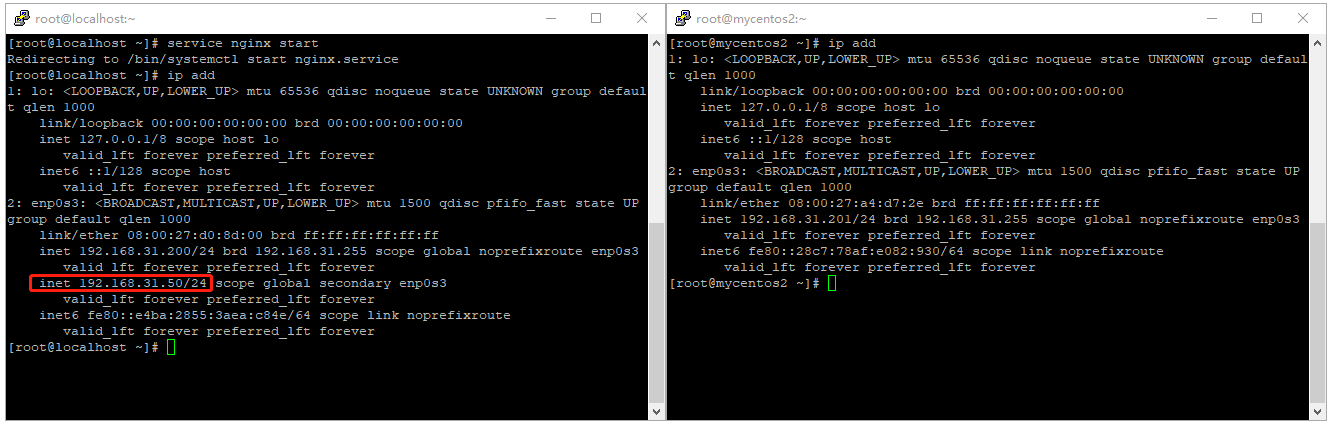
验证 nginx
修改 node1 和 node2 的
/usr/share/nginx/html/index.html的访问页面node1
<!DOCTYPE html>
<html lang="en">
<head>
    <meta charset="UTF-8">
    <meta http-equiv="X-UA-Compatible" content="IE=edge">
    <meta name="viewport" content="width=device-width, initial-scale=1.0">
    <title>Document</title>
</head>
<body>
    <h1>这是 node1 服务器的 nginx 首页!!!</h1>
</body>
</html>
node2
<!DOCTYPE html>
<html lang="en">
<head>
    <meta charset="UTF-8">
    <meta http-equiv="X-UA-Compatible" content="IE=edge">
    <meta name="viewport" content="width=device-width, initial-scale=1.0">
    <title>Document</title>
</head>
<body>
    <h1>这是 node1 服务器的 nginx 首页!!!</h1>
</body>
</html>
使用 vip 访问测试
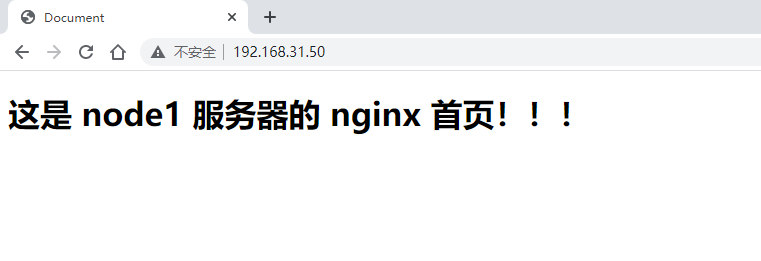
关闭 node1 服务器的 nginx, 再次访问
[root@localhost ~]# service nginx stop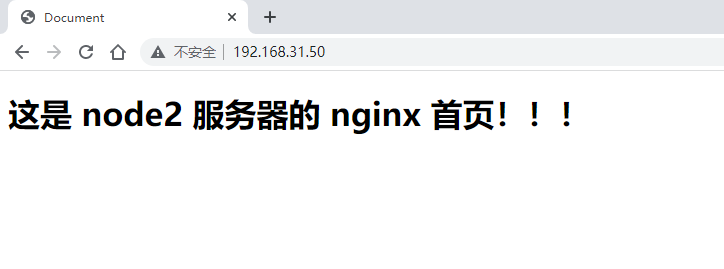
启动 node1 服务器的 nginx, 再次访问
[root@localhost ~]# service nginx start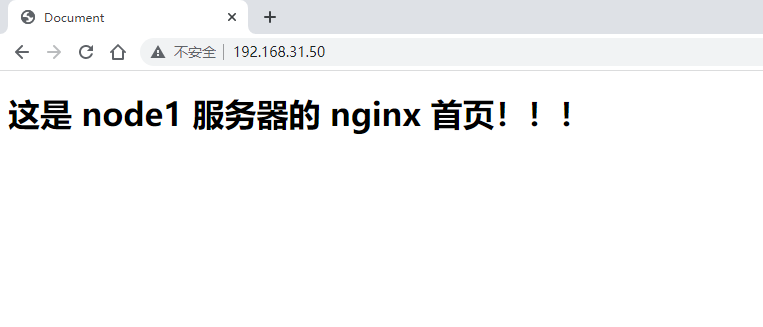
参考链接
nginx+keepalived高可用搭建: https://www.linuxtechi.com/setup-highly-available-nginx-keepalived-linux/